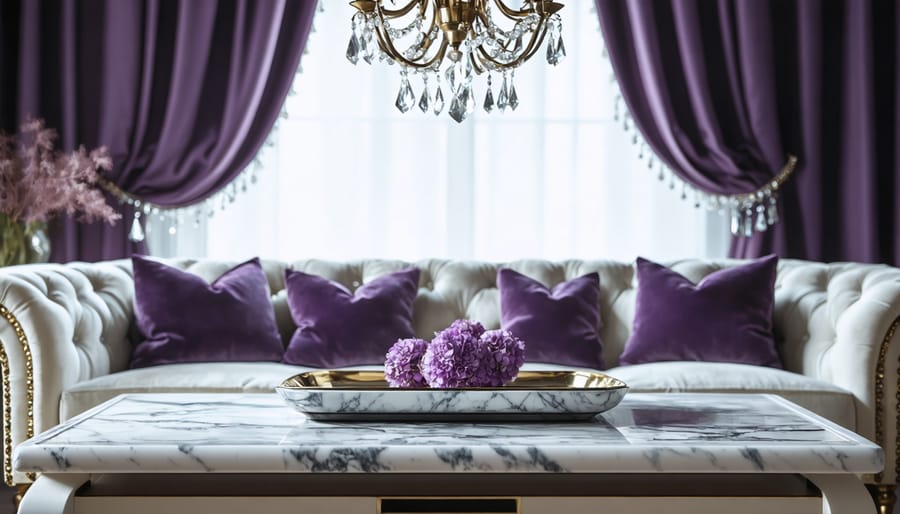
Transform your space into a luxurious sanctuary without breaking the bank by decorating on a budget with these chic DIY projects. Elevate basic curtains by adding a sleek trim or hand-painting an elegant pattern to express your personal style. Craft a stunning chandelier using inexpensive materials like hula hoops and crystal garlands for an instant wow factor. Refresh dated furniture with metallic spray paint and new hardware to mimic designer pieces at a fraction of the cost. These simple projects prove you don’t need deep pockets to create a magazine-worthy home that reflects your unique taste and sophistication.
Customize Curtains with Trim
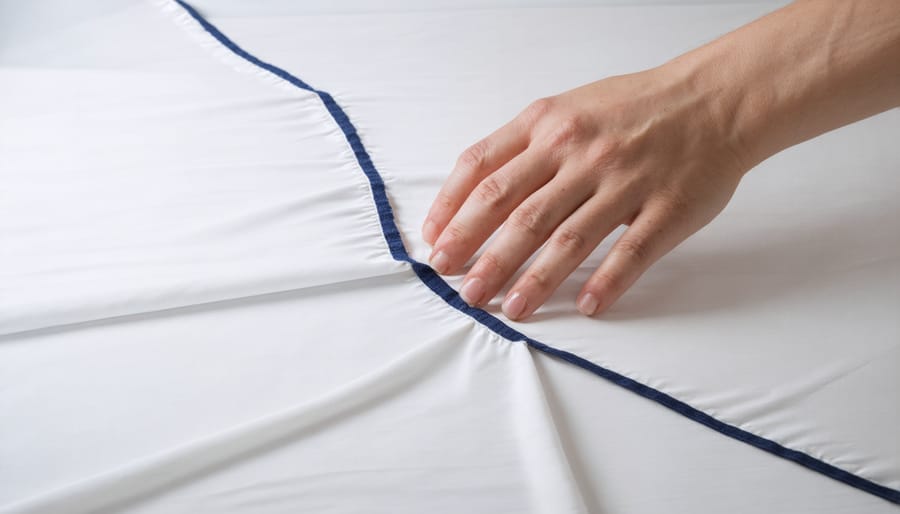
Adding decorative trim to plain curtains is an easy and affordable way to give them a custom, high-end look. To get started, choose a trim that complements your curtain fabric and overall room style. Measure the length of your curtains and add an extra inch for overlapping the ends. Cut the trim to size and use fabric glue or a sewing machine to attach it along the inner and outer edges of the curtains.
For a more intricate design, consider creating a pattern with the trim. Sketch your design on paper first, then use a fabric pencil to lightly mark the curtain where you want to place the trim. Pin the trim in place before gluing or sewing to ensure a neat, even application.
If you’re using a sewing machine, select a thread color that matches your trim and set your machine to a straight stitch. Sew slowly and carefully, keeping the trim aligned with the edge of the curtain. For corners, fold the trim at a 45-degree angle and continue sewing.
Once you’ve finished attaching the trim, steam or press the curtains to remove any wrinkles and help the trim lay flat. Hang your newly customized curtains and admire your handiwork!
With a little creativity and effort, you can transform plain curtains into elegant, one-of-a-kind window treatments that look like they came from a high-end home decor store. This simple DIY project is a great way to add a personal touch to your space without breaking the bank.


Create a Gallery Wall
Choosing a Layout
When planning your elegant DIY home decor layout, start by measuring your space and creating a rough sketch. Consider the focal points you want to highlight, such as a statement wall or a cozy reading nook. Experiment with different furniture arrangements to find the most visually appealing and functional layout. Don’t be afraid to play with asymmetry and create balance through the use of varying heights and textures. Remember to leave enough room for movement and traffic flow. Use painter’s tape to outline potential placement of wall art and decorative elements before committing to a final layout. With careful planning and a creative eye, you can design a stunning and cohesive space that reflects your personal style.
Mixing Art Styles
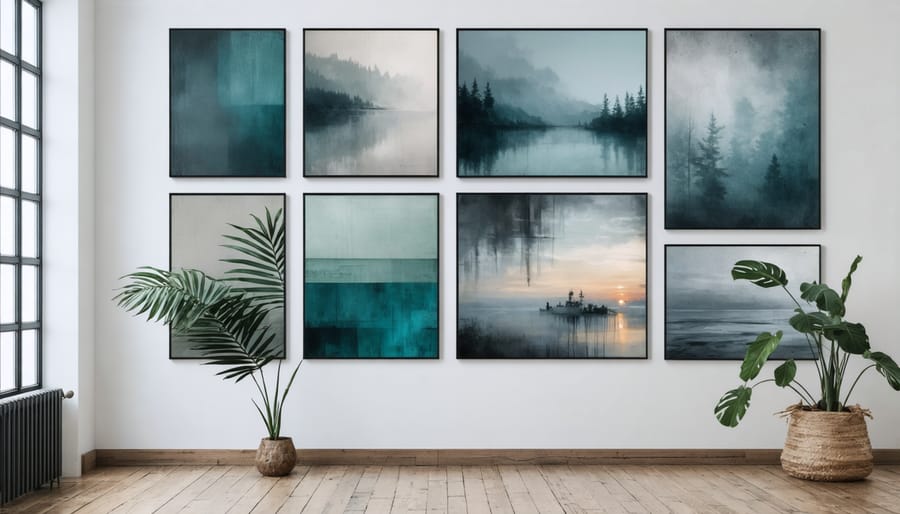
Combining different art styles in your home decor can create a unique, personalized look. The key is to find a unifying element, such as color, theme, or texture. For example, you might pair a modern abstract painting with a vintage-inspired sketch by choosing pieces that share a similar color palette. Or, mix a minimalist line drawing with a bold, graphic print by selecting artwork with complementary frames. Don’t be afraid to experiment and let your personality shine through! Remember, the goal is to create a cohesive look that feels intentional and reflects your individual style.
DIY Faux Marble Accents
Creating the look of luxurious marble doesn’t have to break the bank! With a few simple techniques and materials, you can transform ordinary trays, vases, and more into stunning faux marble accents. One of my favorite methods is using a combination of white and gray acrylic paints to mimic the natural veining found in marble. Start by painting your surface white, then use a feather or a crumpled plastic bag to lightly dab and drag gray paint across the surface. Experiment with different intensities and patterns until you achieve a realistic marble effect. Another technique involves using nail polish to create intricate swirls and veins. Simply drop a few colors of nail polish into a bowl of water, swirl them around with a toothpick, and dip your object into the water. The nail polish will adhere to the surface, creating a unique marbled pattern. Once you’ve mastered these techniques, the possibilities are endless! From chic jewelry dishes to elegant picture frames, you can add a touch of luxury to any room with your own DIY faux marble creations. Don’t be afraid to get creative and experiment – the beauty of DIY is that each piece is uniquely yours.
Upgrade Lampshades
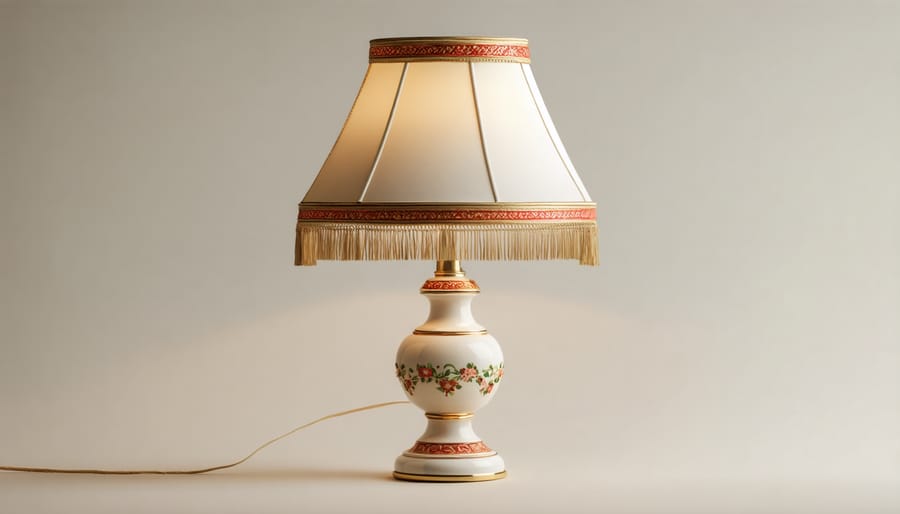
Elevate your plain lampshades into chic statement pieces with a few simple DIY embellishments. One easy way to add a touch of elegance is by covering your lampshade with a luxurious fabric, such as velvet or silk. Simply measure your shade, cut the fabric to size, and use a spray adhesive to secure it in place. For a more intricate look, try adding decorative trim, like a beaded fringe or a sleek grosgrain ribbon, around the edges of the shade.
If you’re feeling crafty, consider hand-painting a design onto your lampshade using fabric paint or stencils. Floral motifs, geometric patterns, or even a monogram can instantly make your shade look custom-made. Another option is to add tassels or pom-poms to the bottom edge of the shade for a playful, bohemian vibe. With a little creativity and some basic supplies, you can transform your ordinary lampshades into expensive-looking focal points that brighten up any room.

Frame Fabric or Wallpaper Samples
Here’s a chic and affordable way to create stunning wall art: frame small pieces of beautiful fabric or wallpaper samples. Visit your local fabric or home improvement store and browse their selection of samples. Look for patterns and colors that complement your existing decor. Once you’ve found a few favorites, purchase the samples or ask if they have any remnants available. Cut the fabric or wallpaper to fit in frames of various sizes. Mix and match patterns for an eclectic gallery wall or stick to a cohesive theme for a more polished look. This project is not only budget-friendly but also allows you to showcase your personal style. Plus, framed fabric and wallpaper samples make thoughtful, one-of-a-kind gifts for friends and family. Just remember to dust your new wall art regularly as part of your routine for keeping your space clean and stylish.
Paint Thrifted Furniture
Giving thrifted furniture a high-end makeover is an excellent way to create elegant home decor on a budget. Start by scouting for quality secondhand pieces at thrift stores, estate sales, or online marketplaces. Look for sturdy furniture with good bones, even if the current finish is outdated or worn.
Before painting, thoroughly clean and sand the piece to create a smooth surface for the new finish to adhere to. Choose a paint color that complements your existing decor or makes a bold statement. High-gloss paints can give furniture a luxe lacquered look, while matte finishes offer a more subdued elegance. Don’t be afraid to experiment with techniques like color blocking, ombre, or stenciling to add visual interest.
Updating hardware is another simple way to elevate thrifted furniture. Swap out dated pulls and knobs for modern, metallic options that catch the eye. For a cohesive look, choose hardware in the same finish as your light fixtures or curtain rods.
To take your piece to the next level, consider adding trim or molding to create the illusion of custom cabinetry. You can also use wallpaper or contact paper to line drawers or create a faux marble top. With a little creativity and elbow grease, your thrifted find will look like a designer original. Embrace the thrill of the hunt and the satisfaction of transforming a diamond in the rough into a treasured piece for your elegant home.
Install Decorative Molding
Adding decorative molding to your walls, ceilings, and doors is a fantastic way to infuse your space with a touch of sophistication and elegance. While it may seem intimidating at first, this DIY project is surprisingly achievable with some patience and the right tools. Start by choosing the style of molding that complements your home’s aesthetic, whether it’s classic crown molding, sleek baseboards, or intricate chair rails. Measure your space carefully and cut the molding to size using a miter saw for precise angles. Before installing, paint or stain the molding to match your desired look. Use a nail gun or adhesive to secure the molding in place, ensuring a seamless fit at the corners. For an extra polished finish, fill any gaps with caulk and touch up the paint as needed. With decorative molding, you’ll marvel at how the smallest details can make the biggest impact in elevating your home’s style. Embrace the power of this timeless architectural element and watch as your rooms transform into stunning, upscale spaces that showcase your personal flair.
Conclusion
Creating elegant home decor doesn’t have to break the bank. With a little creativity and some DIY spirit, you can transform your space into a luxurious haven that reflects your personal style. From crafting custom artwork to upcycling thrift store finds, the possibilities are endless. By incorporating texture, color, and unique accents, you can achieve a high-end look without the designer price tag. So, roll up your sleeves, let your imagination run wild, and embark on a DIY journey to elevate your home. Your elegant oasis awaits, and the satisfaction of knowing you created it yourself is truly priceless.


