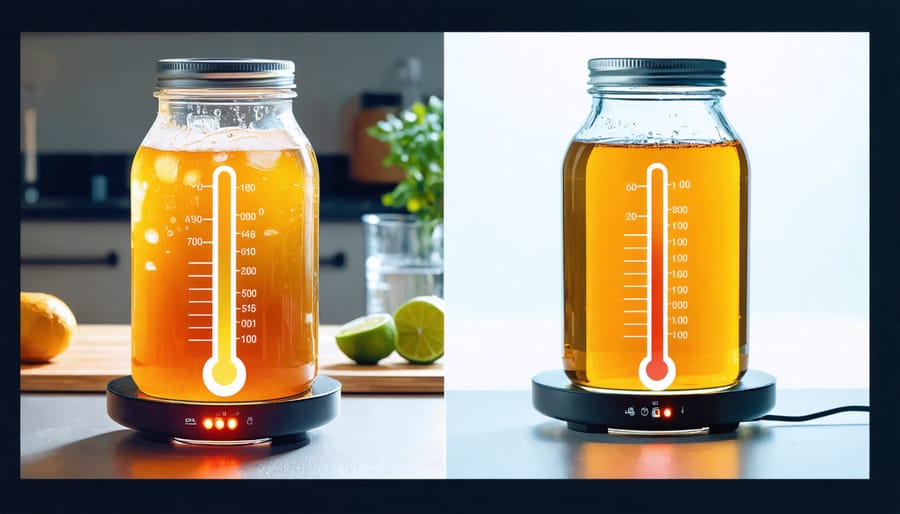
Temperature control can make or break your fermentation projects, turning an everyday kitchen experiment into either a culinary triumph or a disappointing setback. Whether you’re crafting kombucha, sourdough, or kimchi, mastering the delicate dance of temperature will help you transform your kitchen experience into a reliable fermentation workshop. Most beneficial fermentation happens between 65-75°F (18-24°C), with every 10-degree increase roughly doubling the fermentation rate. Too cold, and your cultures become sluggish; too warm, and unwanted bacteria might flourish, creating off-flavors or spoilage. The good news? You don’t need expensive equipment to maintain ideal temperatures. A simple kitchen thermometer, strategic placement in your home, and consistent monitoring will give you the control needed for successful fermentation projects. Think of temperature as your friendly kitchen partner – work with it mindfully, and it’ll help you create vibrant, living foods packed with probiotics and flavor.
Why Temperature Matters in Fermentation
The Science Made Simple
Think of fermentation microorganisms as tiny creatures that thrive within specific temperature ranges – just like how we feel most comfortable in certain weather conditions. These microscopic workers are particularly sensitive to their environment, and temperature plays a huge role in how active or sluggish they become.
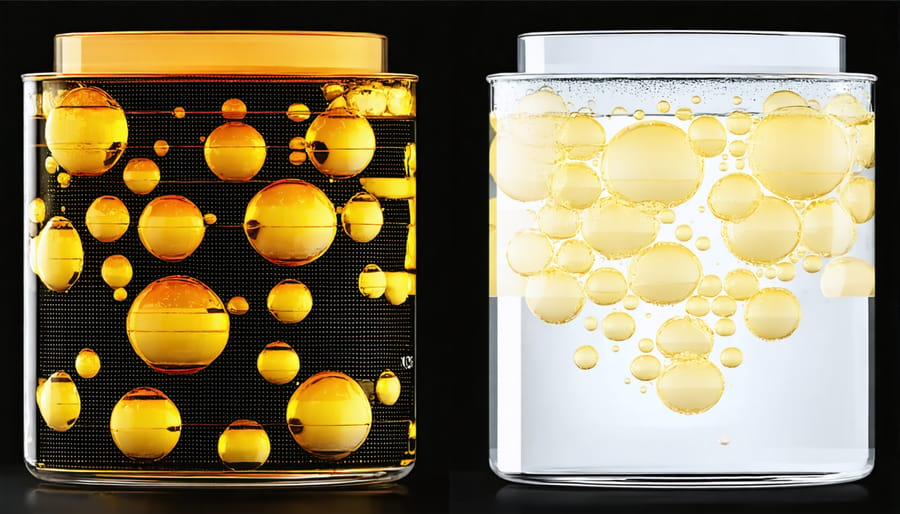
When it’s too cold, these little helpers slow down dramatically, kind of like how we move slower on a chilly winter morning. Too hot, and they might become stressed or even stop working altogether – similar to how we feel less productive on a scorching summer day. The sweet spot for most fermentation processes lies between 65-75°F (18-24°C), where these microorganisms are happiest and most efficient.
Remember that time I left my kombucha in a sunny spot? Let’s just say the results weren’t quite what I expected! That’s because temperature doesn’t just affect how fast fermentation happens – it also influences the flavors and textures that develop during the process.
Common Temperature-Related Mistakes
I remember when I first started fermenting, keeping the right temperature felt like trying to solve a puzzle! Many of us make similar mistakes along the way, and that’s totally okay – it’s part of the learning journey. One common error is storing ferments in a sunny windowsill, thinking they need light to thrive. This can actually lead to inconsistent temperatures and over-fermentation.
Another frequent mistake is forgetting that different ferments need different temperatures. For example, treating kombucha and sauerkraut the same way can lead to disappointing results. Speaking from experience, placing ferments near appliances that give off heat (like your dishwasher or refrigerator) can create temperature fluctuations you might not even notice.
Many beginners also underestimate how much room temperature can vary throughout the day. What feels cool in the morning might become too warm by afternoon, especially during seasonal changes. The good news? Once you’re aware of these common pitfalls, they’re surprisingly easy to avoid with a bit of planning and the right setup.
Ideal Temperature Ranges for Different Ferments
Vegetables and Pickles
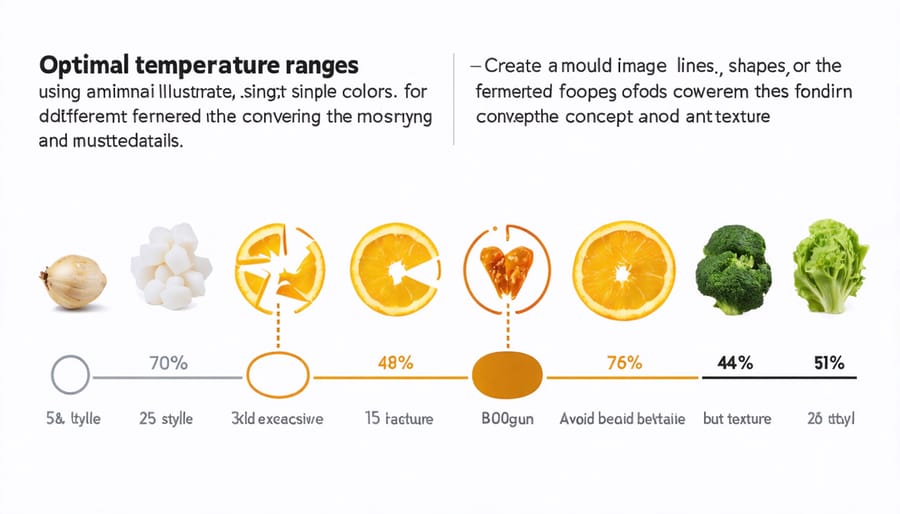
When fermenting vegetables, temperature plays a crucial role in achieving that perfect crunch and flavor we all love. I’ve found that most vegetables ferment beautifully between 65-72°F (18-22°C), which is typically room temperature in many homes. Remember that first batch of pickles I made in my kitchen last summer? They turned out amazing because I kept them in my pantry, where the temperature stays just right!
For classic vegetable ferments like sauerkraut, kimchi, and pickled cucumbers, try to maintain this ideal temperature range throughout the process. If your kitchen runs warm, consider moving your ferments to a cooler spot, like a basement. Too much heat can lead to mushy vegetables (trust me, I learned this the hard way!), while too cold will slow down the fermentation process significantly.
A helpful tip: during warmer months, check your ferments daily and consider using shorter fermentation times.
Kombucha and Beverages
When it comes to fermented beverages, temperature plays a crucial role in achieving that perfect flavor balance. Take kombucha, for instance – this fizzy favorite thrives best between 68-78°F (20-26°C). I learned this the hard way during my first brewing attempt in a chilly kitchen! For optimal results, keep your kombucha in a dark, warm spot away from direct sunlight.
Other probiotic drinks have their own sweet spots too. Water kefir prefers slightly warmer temperatures around 68-85°F (20-29°C), while traditional ginger beer ferments beautifully at room temperature, around 70-75°F (21-24°C). If you’re brewing jun tea, keep it slightly cooler than kombucha, around 65-75°F (18-24°C).
Remember, consistency is key – sudden temperature changes can stress your cultures and affect the final taste. I keep a thermometer nearby and check regularly, especially during seasonal changes.
Yogurt and Dairy
When it comes to dairy fermentation, temperature plays a crucial role in creating that perfect batch of yogurt or kefir. I’ve learned through countless kitchen experiments that the sweet spot for yogurt-making typically falls between 110°F and 115°F (43-46°C). This warm, cozy environment helps the beneficial bacteria thrive and transform your milk into that creamy, tangy goodness we all love.
Think of your fermenting dairy as a comfortable home for these helpful microorganisms. Too cold, and they’ll become sluggish, leading to longer fermentation times. Too hot, and you might accidentally harm these beneficial bacteria. I always recommend using a reliable thermometer to maintain consistent temperatures, especially when you’re just starting out.
For those making traditional yogurt at home, maintaining this temperature for 4-8 hours usually results in that perfect texture we’re all aiming for. Remember, cooler temperatures will give you a milder flavor, while longer fermentation times produce a tangier taste – it’s all about finding what works best for your palate!
Sourdough and Grain Ferments
When it comes to sourdough and grain ferments, temperature plays a starring role in creating that perfect loaf or tangy fermented grain bowl. Your sourdough starter thrives best between 75-85°F (24-29°C), where beneficial bacteria and wild yeasts work their magic at an ideal pace. I learned this the hard way during my first winter of bread-making when my usually bubbly starter turned sluggish in my chilly kitchen! For the most consistent results, try keeping your starter in a warm spot, like near (but not on) your stove or in an oven with just the light on. When fermenting whole grains for breakfast porridges or doughs, aim for similar temperatures to ensure those good bacteria can effectively break down the grains, making them more digestible and nutritious.
Easy Temperature Control Methods
No-Cost Solutions
When I first started fermenting, I discovered that my kitchen held countless treasures for temperature control – no special equipment needed! Let me share some of my favorite tricks that have saved many a ferment. Your kitchen towel drawer is a goldmine; wrapping fermentation jars in thick cotton towels helps insulate them from temperature fluctuations. During warmer months, I place my jars in a shallow dish filled with water and drape a damp cloth over them – the evaporating water naturally cools the setup.
Got a cooler gathering dust? It’s perfect for maintaining steady temperatures! Place your ferments inside with a jar of room temperature water, which helps stabilize the environment. For those chilly days, moving your ferments to the top of your refrigerator provides gentle warmth from the heat the appliance generates.
My personal favorite hack uses the microwave as a fermentation chamber (when it’s not in use, of course). Its insulated space offers protection from drafts and temperature swings. Cardboard boxes lined with towels create excellent makeshift fermentation chambers too – I’ve even used my old wine box!
Remember, the key is consistency rather than hitting an exact temperature. These simple solutions have helped countless home fermenters create successful batches without spending a dime.
Helpful Tools and Equipment
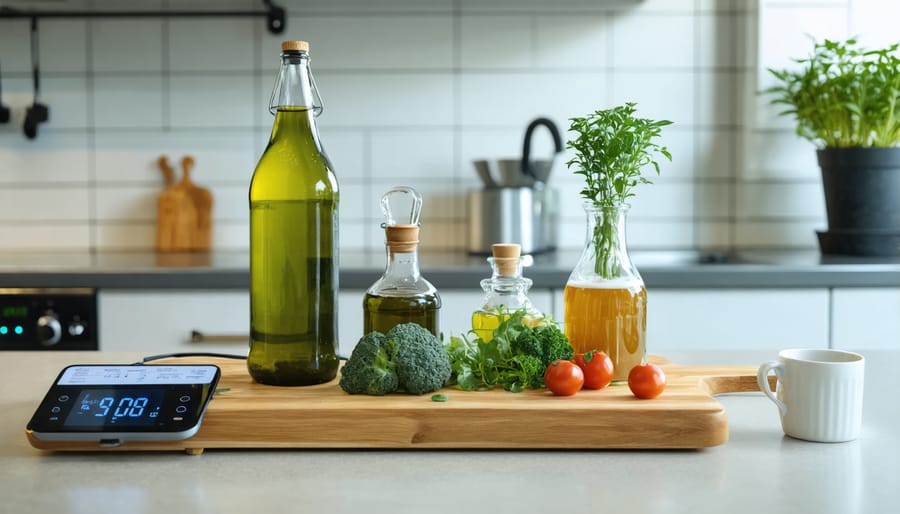
Having the right tools can make all the difference in your fermentation journey – trust me, I learned this the hard way after several failed attempts! Let’s explore some essential kitchen tools that will help you maintain perfect temperatures for successful fermentation.
A reliable digital thermometer is your best friend when fermenting. I recommend getting both an ambient temperature thermometer and a probe thermometer. The ambient one monitors your fermentation space, while the probe lets you check the actual temperature of your ferments.
Temperature-controlled chambers are game-changers for year-round fermenting. While professional fermentation chambers are available, you can create a DIY version using a small refrigerator and a temperature controller. I started with this setup, and it’s served me wonderfully for years!
For those just starting out, simple solutions work too. A cooler filled with water bottles can help maintain steady temperatures, while heating mats (the kind used for seedlings) can provide gentle warmth during colder months.
Don’t forget these helpful extras:
– Adhesive temperature strips
– Insulated fermentation covers
– Glass weights to keep ingredients submerged
– Airlock lids for consistent environment
Remember, you don’t need to buy everything at once – start with the basics and build your collection as your fermentation journey evolves!
Troubleshooting Temperature Issues
Let’s face it – we’ve all had those moments when our fermentation projects didn’t quite turn out as planned. Temperature issues are often the culprit, but don’t worry! Just like mastering other mindful cooking techniques, solving temperature-related fermentation problems is totally manageable.
If your fermentation is too slow, your space might be too cold. Try moving your vessel to a warmer spot, like the top of your refrigerator, or wrap it in a blanket. For those chilly winter months, a seedling heat mat can work wonders – just keep it on the lowest setting.
On the flip side, if things are moving too quickly (hello, summer heat!), you’ll notice extra-bubbly ferments and stronger, sometimes off-putting flavors. Cool things down by moving your ferments to a basement or using a cooling sleeve. I learned this trick from my grandmother: wrap a damp cloth around your fermentation vessel and place it in front of a fan.
Strange smells or unusual colors? These are often signs that your ferment got too warm. If this happens, trust your instincts – when in doubt, throw it out. Start fresh and try setting up in a cooler spot next time.
Remember, consistency is key. Avoid placing ferments near windows or vents where temperatures fluctuate throughout the day. A stable environment makes for happy, healthy ferments!
Now that you understand how temperature plays a crucial role in fermentation, you’re ready to start your own fermentation journey! Remember, successful fermentation doesn’t require fancy equipment – just attention to temperature control and a bit of patience. Whether you’re fermenting kombucha in your kitchen or crafting the perfect batch of sauerkraut, maintaining the right temperature will help you achieve delicious, probiotic-rich results. Start with simple projects like pickled vegetables, and as your confidence grows, explore more complex ferments. Join our vibrant community of home fermenters, share your experiences, and don’t be afraid to experiment. With the knowledge you’ve gained about temperature control, you’re well-equipped to create amazing fermented foods that will nourish both body and soul. Happy fermenting!

