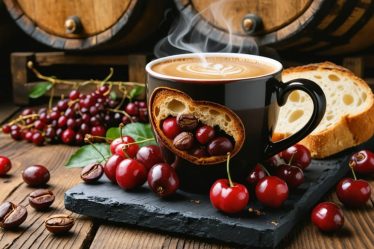
Brewing coffee is an art that transforms ordinary beans into extraordinary experiences – and it’s more accessible than you might think. As someone who’s spent countless mornings perfecting my pour-over technique, I’ve discovered that magical cup of coffee isn’t just about following recipes; it’s about understanding the delicate dance between water temperature, grind size, and timing.
The science of brewing speaks to both our senses and our souls. When hot water meets freshly ground coffee, it initiates a complex extraction process that releases hundreds of aromatic compounds, oils, and flavors. This moment of chemical poetry is what separates a mediocre cup from one that makes you pause and savor every sip.
Whether you’re a curious beginner or a seasoned enthusiast, mastering the brewing process opens up a world of possibility in your daily ritual. From the meditative flow of a pour-over to the precise pressure of espresso, each method tells its own story and offers its own rewards. Let’s explore how to elevate your coffee game through the perfect brew, one step at a time.
Join me as we dive into the essential elements that make every cup count – no fancy equipment required, just attention to detail and a passion for great coffee.
The Science Behind Perfect Coffee Extraction
Water Chemistry Basics
Just like finding the perfect temperature for a relaxing bath, getting your water chemistry right is crucial for that perfect cup of coffee. While it might sound technical, think of it as creating the ideal environment for your coffee beans to shine. The sweet spot for brewing temperature typically falls between 195°F and 205°F (90-96°C) – hot enough to extract those beautiful flavors but not so hot that it becomes bitter.
But temperature isn’t the only star of the show. The minerals in your water play a supporting role that’s just as important as maintaining bean freshness. Think of your water’s mineral content as the backstage crew that helps bring out the best performance in your coffee. Aim for water with a total dissolved solids (TDS) range of 150-200 ppm, with calcium and magnesium being particularly helpful friends to your brew.
If your tap water isn’t quite hitting these marks, don’t worry! A simple carbon filter can work wonders, or you might consider using bottled spring water for that extra special cup.
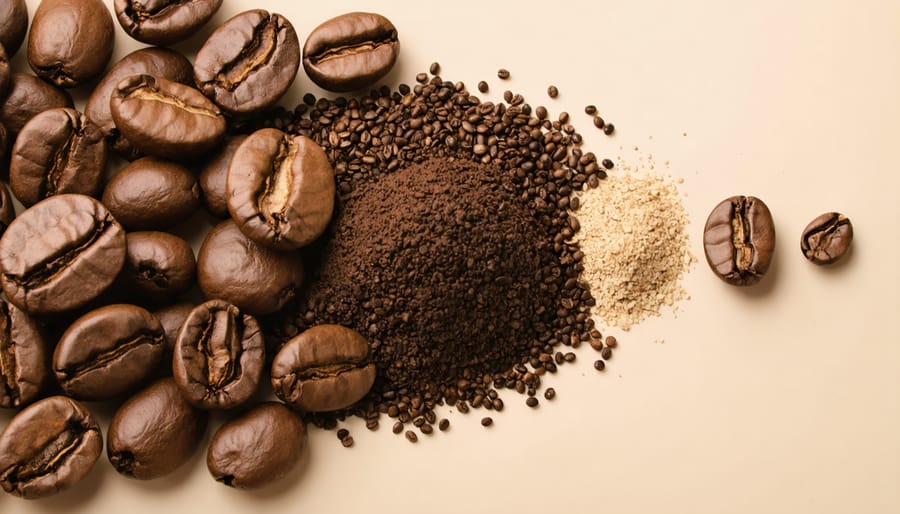
Grind Size Mastery
Think of coffee grinding like choosing the perfect outfit – it needs to match the occasion! Just as you wouldn’t wear beach sandals to a winter party, different brewing methods require specific grind sizes for the best results. Even with properly stored coffee beans, the wrong grind size can make your brew taste off.
For espresso lovers, a fine grind (think powdered sugar texture) creates the perfect resistance for those intense, concentrated shots. Medium grinds work beautifully for drip coffee makers, similar to regular beach sand. If you’re a French press enthusiast, go coarser – about the size of raw sugar crystals – to prevent those pesky grounds from sneaking through the mesh.
Here’s a little trick I learned from my local barista: if your coffee tastes bitter, try a slightly coarser grind next time. Too weak? Go a bit finer. It’s like finding the sweet spot on your favorite radio station – small adjustments can make a world of difference in bringing out those lovely coffee flavors you’re after.
Essential Advanced Brewing Methods
Pour-Over Perfection
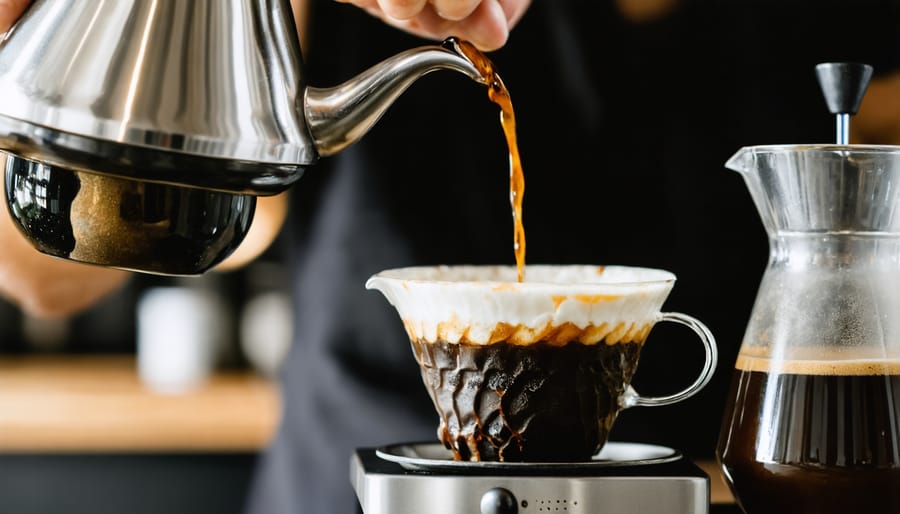
The art of pour-over coffee is like a morning meditation, combining mindful brewing practices with precision to create the perfect cup. Begin by heating your water to 200°F (93°C) – just shy of boiling. While the water heats, fold your filter along its seam and rinse it with hot water, which removes any paper taste and preheats your brewing vessel.
For each cup, measure out 15-18 grams of freshly ground coffee (about two tablespoons), aiming for a medium-fine consistency that resembles sea salt. After discarding the filter-rinsing water, add your grounds to the damp filter, creating a flat bed.
Start with a gentle 30-second bloom pour, using twice the weight of your coffee in water. Watch as the coffee puffs up and releases tiny bubbles – this is where the magic begins! Continue pouring in gentle, circular motions from the center outward, maintaining a steady stream about the width of a pencil. Keep the water level consistent, never letting the grounds go dry.
Complete your pour in about 2-3 minutes total, aiming for a final brew weight of about 240 grams of water per 15 grams of coffee. The result should be a clean, bright cup that highlights your coffee’s unique flavor notes. Remember, perfection comes with practice, so don’t be afraid to adjust these ratios to suit your taste preferences.
Advanced French Press Techniques
Ready to take your French press game to the next level? I remember when I first discovered these game-changing techniques – they transformed my morning brew from good to absolutely sublime! Let’s dive into some advanced methods that’ll help you craft that perfect cup.
First, try the bloom and stir technique. After adding your coffee grounds, pour just enough hot water to saturate them, then gently stir the mixture. This crucial 30-second pause allows the coffee to degas, resulting in a cleaner, more nuanced flavor profile.
Here’s a pro tip I learned from a coffee specialist in Portland: try the double plunge method. After your initial plunge, slowly lift the plunger halfway up and press down again. This helps capture more of those fine particles that might have escaped the first time.
Temperature control is another game-changer. Instead of using boiling water, aim for 200°F (93°C). I keep a kitchen thermometer handy, but if you don’t have one, simply let your kettle rest for about 30 seconds after boiling.
For those special weekend brews, experiment with the extended steeping method. Add an extra minute to your usual steeping time, but decrease your water temperature by 5 degrees. This gentle approach extracts deeper flavors without adding bitterness.
Remember to always decant your coffee immediately after plunging – even if you’re not planning to drink it all at once. This prevents over-extraction and keeps your coffee tasting fresh longer.
Mastering the Aeropress
Let me share a little secret – my journey with the Aeropress started with more than a few coffee-splattered countertops! Now, after countless brews and experiments, I’ve discovered some game-changing techniques that’ll take your Aeropress coffee from good to absolutely amazing.
The inverted method has become my go-to technique, and trust me, it’s not as intimidating as it sounds! Start by placing your Aeropress upside down with the plunger at the ‘4’ mark. Add freshly ground coffee (I find 17 grams perfect), then pour water at 175°F in a circular motion until you reach the top. Give it a gentle stir, attach the filter cap, and let it steep for 90 seconds.
Here’s where the magic happens: the longer steeping time allows for fuller extraction, creating a richer, more complex cup. When it’s time to flip and press, do it slowly – about 30 seconds of gentle, steady pressure is ideal. This prevents any bitterness and ensures all those lovely flavors make it into your cup.
For those adventurous souls, try the “bloom and stir” variation. Add just enough water to wet the grounds, wait 30 seconds, then proceed with the rest of the water. This simple step enhances the natural sweetness of your coffee and brings out those subtle flavor notes you might have been missing.
Remember, the beauty of the Aeropress lies in its flexibility – don’t be afraid to adjust these methods to match your taste preferences!
Timing and Measurement Precision
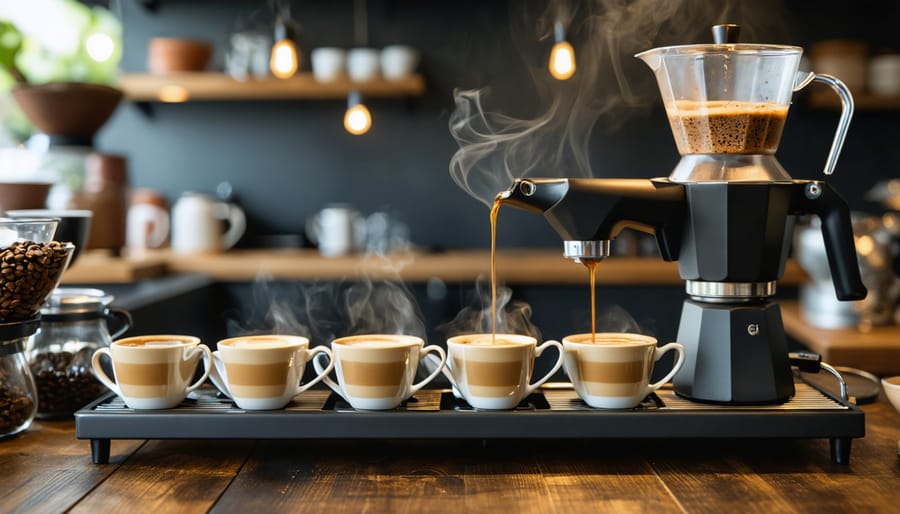
Coffee-to-Water Ratios
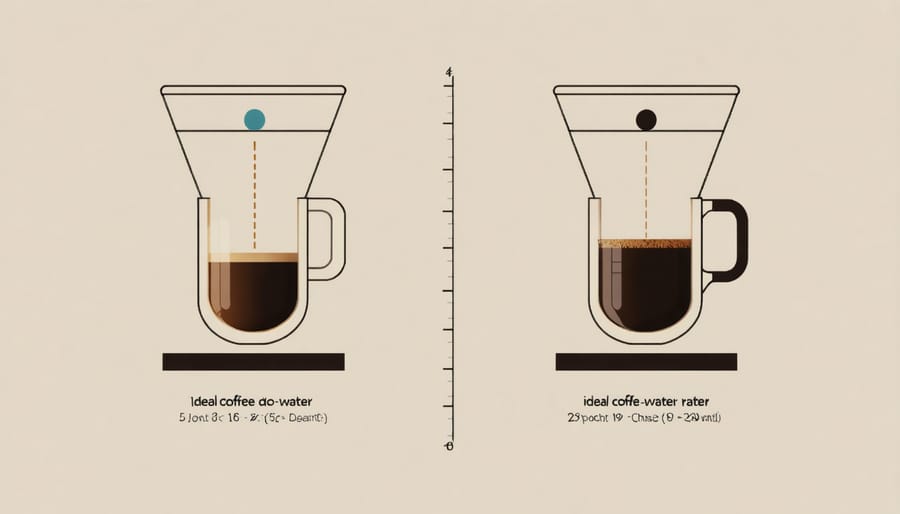
Let me share a little secret that transformed my coffee game: getting the perfect coffee-to-water ratio. Think of it as finding the sweet spot between too weak and too strong, just like Goldilocks and her porridge! For most brewing methods, the golden ratio is between 1:15 and 1:17 (that’s one part coffee to 15-17 parts water).
I remember when I used to eyeball my measurements, and let’s just say the results were… interesting. Now, I swear by my kitchen scale for consistency. For a standard 8-ounce cup, try starting with 15 grams of coffee to 250 grams of water. This ratio delivers a beautifully balanced brew that’s neither too intense nor too watery.
Of course, these numbers aren’t set in stone – they’re more like friendly guidelines. Feel free to adjust based on your taste preferences. Love a stronger cup? Try a 1:15 ratio. Prefer something lighter? Go for 1:17. The beauty of home brewing is that you get to be your own barista and find what works perfectly for you.
Remember, different brewing methods might call for slight adjustments to these ratios, but this range gives you a solid foundation to start experimenting with confidence.
Brewing Time Control
As a coffee enthusiast, I’ve learned that timing is everything when it comes to brewing the perfect cup. Think of brewing time as a delicate dance – too short, and your coffee will be weak and underwhelming; too long, and you’ll end up with a bitter, over-extracted brew that makes you wince.
For pour-over methods, aim for a total brewing time between 2.5 to 3 minutes. I find that breaking this down into 30 seconds for the initial bloom (where hot water meets fresh grounds) followed by steady pours works beautifully. French Press lovers, give your brew 4 minutes of steeping time – this allows for full flavor extraction while maintaining that beloved rich body.
If you’re an espresso fan, your sweet spot is typically 25-30 seconds from the moment you start the shot. For cold brew, patience is key – 12 to 24 hours in the refrigerator will reward you with a smooth, less acidic concentrate.
Remember, these times aren’t set in stone. Factors like grind size, water temperature, and even altitude can affect your optimal brewing time. Start with these guidelines and adjust based on your taste preferences. Trust your palate – it’s your most reliable brewing timer!
Common Mistakes and Solutions
Troubleshooting Extraction Problems
Let me share a little secret from my coffee-making journey: even the most experienced home baristas encounter extraction issues from time to time. The good news? Most brewing problems have simple solutions once you know what to look for.
If your coffee tastes bitter and leaves a dry, harsh aftertaste, you’re likely dealing with over-extraction. This usually happens when water stays in contact with the grounds for too long, or when your grind is too fine. Try reducing your brewing time or adjusting to a slightly coarser grind – you’ll be amazed at the difference it makes!
On the flip side, if your coffee tastes sour or oddly sharp, under-extraction is probably the culprit. I learned this lesson the hard way when rushing through my morning routine! The fix? Slow down your pour, use slightly hotter water, or try a finer grind setting.
One common issue I often hear about from fellow coffee lovers is inconsistent extraction, where some cups taste perfect while others fall flat. This typically comes down to uneven water distribution or inconsistent grinding. Making sure you’re pouring in steady, controlled circles and investing in a quality grinder can work wonders.
Remember, perfecting your brew is all about small adjustments and patience. Keep a coffee journal to track your changes – it’s like having a roadmap to your perfect cup!
Equipment Care and Maintenance
Just like a cherished family recipe, your brewing equipment deserves love and attention to consistently deliver that perfect cup. I’ve learned through years of coffee adventures that maintaining your gear isn’t just about cleanliness – it’s about preserving the joy of brewing itself.
Start by developing a daily cleaning ritual. After each use, rinse your equipment thoroughly with hot water and wipe it dry. For coffee makers, run a brewing cycle with plain water to flush out any residual coffee oils. Those stubborn oils can turn rancid and affect future brews, something I discovered the hard way!
Monthly deep cleaning is essential for optimal performance. Descale your equipment using a mixture of equal parts water and white vinegar, or use a commercial descaling solution. This prevents mineral buildup, which can affect both the taste of your coffee and your machine’s longevity. Just as we follow barista storage secrets for beans, proper equipment care is crucial for maintaining flavor quality.
Store your equipment in a dry, clean space away from direct sunlight and heat sources. Regularly check gaskets, seals, and filters for wear and tear, replacing them as needed. Remember, well-maintained equipment isn’t just about better coffee – it’s about creating lasting memories one perfectly brewed cup at a time.
As we wrap up our brewing journey together, remember that creating the perfect cup of coffee is both an art and a science – and most importantly, it’s a personal adventure. I’ve found that some of my best coffee discoveries came from those mornings when I dared to try something a little different, whether it was adjusting my grind size or experimenting with water temperature.
The key takeaways from our exploration are simple: quality beans matter, precision in measurements creates consistency, and temperature control is crucial for optimal extraction. But beyond these fundamentals, there’s so much room for creativity and personalization in your brewing process.
Don’t be afraid to trust your palate and make adjustments based on what you enjoy. Maybe you’ll find that you prefer a slightly longer steep time for your French press, or perhaps a cooler water temperature brings out the subtle notes you love in your favorite Ethiopian beans. Each small tweak is an opportunity to learn and develop your coffee expertise.
I encourage you to start a coffee journal to track your experiments and discoveries. Note down what works, what doesn’t, and how different variables affect your brew. Share your experiences with other coffee enthusiasts – you’d be amazed at how much you can learn from our wonderful coffee community.
Remember, there’s no such thing as the “perfect” way to brew coffee – only the perfect way for you. Happy brewing!