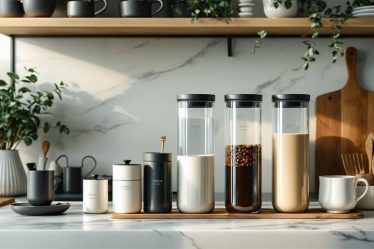
Transform your morning ritual into barista-quality coffee with carefully selected pour over equipment that elevates every cup. Start with a precision gooseneck kettle, which offers the controlled water flow essential for even extraction. Choose between ceramic or glass drippers – ceramic retains heat better while glass allows you to watch the brewing process. Pair these with specially designed pour over filters that enhance flavor clarity and eliminate paper taste. The right equipment doesn’t just brew coffee; it creates a mindful morning experience that connects you to the art of coffee making. Whether you’re upgrading your existing setup or diving into pour over brewing for the first time, investing in quality tools transforms simple beans and water into a café-worthy experience right in your kitchen.
The Heart of Pour Over Brewing: Choosing Your Dripper
Ceramic vs. Glass vs. Plastic Drippers
Let’s talk about one of the most important choices you’ll make in your pour-over journey: selecting the right dripper material. Each option brings something special to your morning coffee ritual!
Ceramic drippers are my personal favorite – they’re excellent at maintaining consistent temperature throughout the brewing process, which is key for extracting those lovely coffee flavors. Plus, they just feel so substantial and beautiful on your countertop! Many coffee enthusiasts love ceramic for its traditional feel and superior heat retention.
Glass drippers offer a unique brewing experience – there’s something magical about watching your coffee drip through clear glass. They’re also great heat conductors, though not quite as stable as ceramic. I find them particularly lovely for serving guests, as they add a bit of theater to the coffee-making process.
Plastic drippers might surprise you – they’re incredibly practical and perform remarkably well. They’re lightweight, virtually unbreakable, and perfect for travel. The better ones heat up quickly and maintain temperature effectively. While they might not have the same aesthetic appeal as ceramic or glass, they’re often the choice of professional baristas for their consistency and durability.
Remember, each material can make excellent coffee – it’s really about finding what works best for your lifestyle and preferences!

Popular Dripper Styles and Their Benefits
Let me walk you through some of my favorite pour over drippers that have transformed my morning coffee ritual. Each has its unique charm and brings something special to your brew!
The Hario V60 is beloved for its signature spiral ridges and large opening, which gives you amazing control over your pour. I adore how it lets me experiment with different pour patterns to create the perfect cup. It’s particularly fantastic for bringing out bright, clean flavors in light roasts.
The elegant Chemex combines the roles of dripper and carafe in one beautiful package. Its thick filters produce an incredibly clean cup that’s practically sediment-free. When I’m hosting brunch, it never fails to spark conversations about both coffee and design!
The Kalita Wave is my go-to recommendation for beginners. Its flat bottom and three small holes create a more forgiving brew process, making it easier to achieve consistent results. Think of it as your reliable friend in the coffee world!
Other noteworthy options include the classic Melitta dripper, perfect for those just starting their pour over journey, and the Origami Dripper, which adds a touch of artistic flair to your coffee corner while delivering excellent results.
Essential Supporting Equipment
The Perfect Kettle for Control
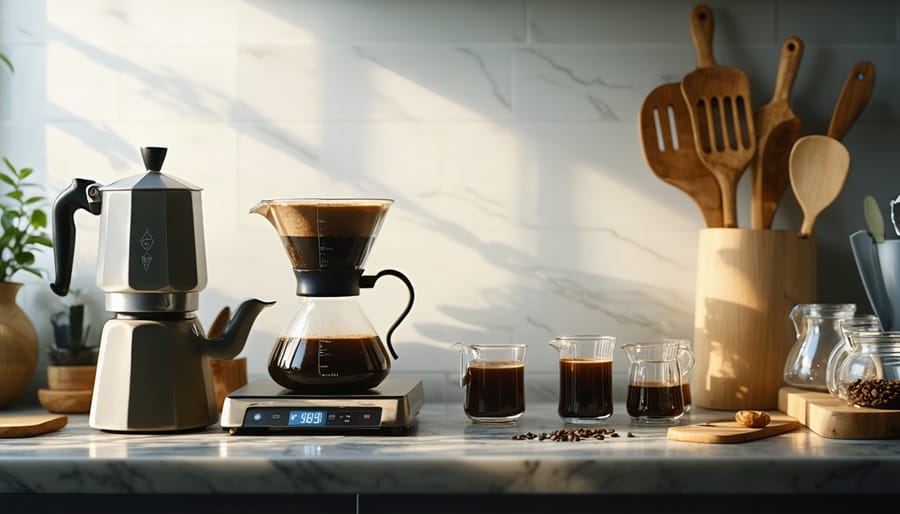
When I first discovered the magic of pour-over coffee, I quickly learned that having the right kettle makes all the difference. The perfect kettle isn’t just about boiling water – it’s your secret weapon for achieving that barista-worthy cup at home.
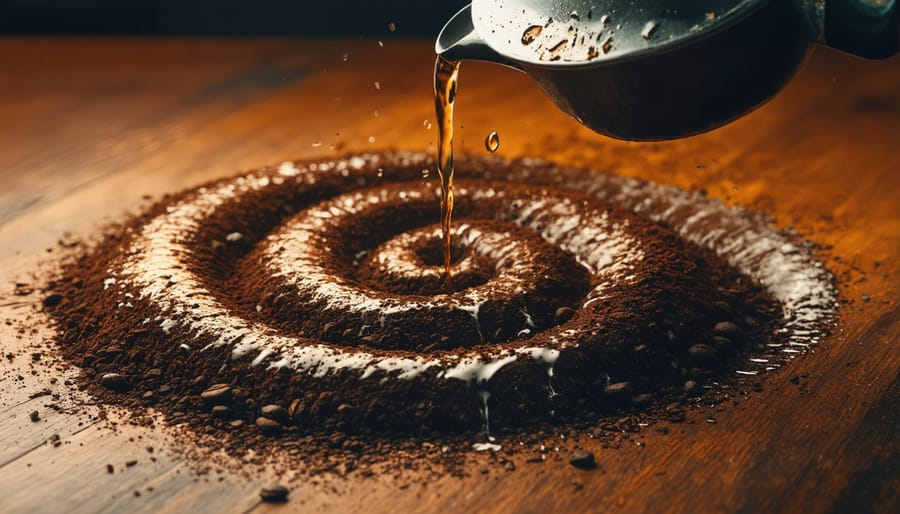
Look for a gooseneck kettle with a long, slender spout that gives you precise control over your pour. This design lets you master the circular pouring technique that coffee enthusiasts swear by. Trust me, it’s so satisfying when you get that perfect spiral motion!
Temperature control is another game-changer. Many modern kettles come with built-in thermometers or temperature settings, which take the guesswork out of achieving that ideal 195-205°F range. I love kettles with digital displays – they make me feel like a coffee scientist in my own kitchen!
Consider the kettle’s capacity too. A 1-liter size is perfect for most home brewers, giving you enough water for multiple cups without being too heavy to handle. And speaking of handling, look for a kettle with a comfortable grip and balanced weight distribution – your wrists will thank you during those meditative morning pour-overs.
Bonus points if you find one that matches your kitchen aesthetic. While functionality comes first, there’s something special about a beautiful kettle that makes you smile every time you reach for it.
Filters and Their Impact on Flavor
I’ll never forget the day I switched from paper to cloth filters – it was like discovering a whole new dimension to my morning coffee ritual! The filter you choose plays a crucial role in determining your coffee flavor profiles, and there are three main options to consider.
Paper filters are the most common choice, and they’re perfect if you prefer a cleaner, brighter cup of coffee. They trap oils and fine particles, resulting in a crisp taste that lets the subtle notes shine through. While bleached filters give the purest flavor, unbleached ones are more environmentally friendly and work just as well after a quick pre-rinse.
Metal filters, like those made from stainless steel mesh, allow more oils and micro-grounds to pass through. This creates a fuller-bodied cup with enhanced richness – think French press style, but with more clarity. They’re also eco-friendly since they’re reusable, though they do require regular cleaning to prevent flavor buildup.
Cloth filters strike a beautiful balance between paper and metal. They produce a clean cup while allowing just enough oils through to create a silky mouthfeel. While they need more maintenance than other options, many coffee enthusiasts (myself included!) find the unique flavor profile worth the extra effort.
Remember, there’s no “right” choice – it’s all about what brings joy to your daily coffee experience!
Precision Tools for Better Brewing
Scales and Timing
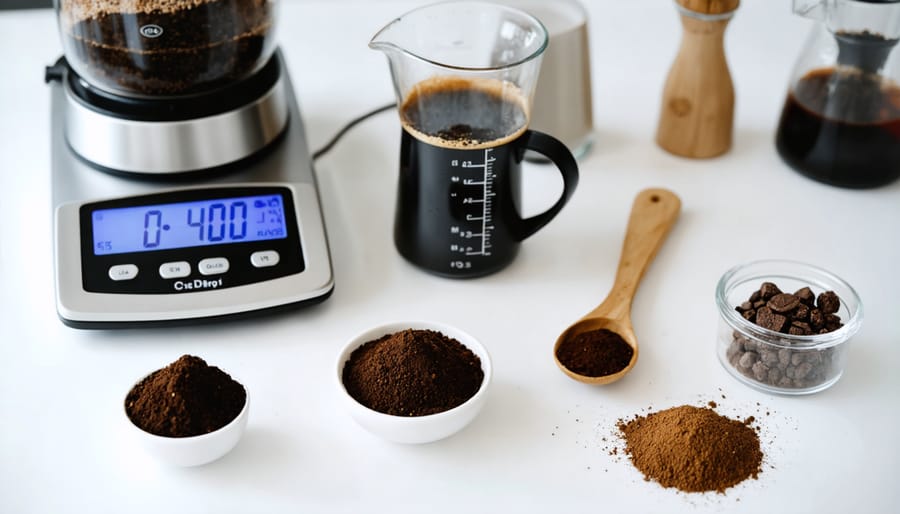
Let me share a little secret that transformed my pour over coffee game – investing in a good digital scale! Trust me, I used to eyeball my measurements, but precise weighing makes such a difference in achieving that perfect cup consistently.
For the best results, look for a scale that measures in 0.1-gram increments and has a built-in timer. I absolutely love how these combined features help me track both my coffee-to-water ratio and brewing time in one sleek device. Aim to use about 15-18 grams of coffee per 240ml of water as a starting point, but feel free to adjust based on your taste preferences.
Speaking of timing, the sweet spot for pour over brewing typically falls between 2.5 to 3.5 minutes total. I keep a timer handy (either on my scale or phone) to maintain consistency. Start your timer as soon as you begin the initial bloom pour, and pay attention to how timing affects the final taste of your coffee.
Remember, while precision is important, don’t let it overwhelm you! These tools are here to help you create better coffee, not stress you out. With a little practice, measuring and timing will become second nature to your morning routine.
Temperature Control
Getting the water temperature just right can make or break your pour over coffee experience – trust me, I learned this the hard way after countless cups that were either too bitter or lacking in flavor! The sweet spot for pour over coffee is between 195°F and 205°F (90-96°C), which allows for optimal extraction without scorching those precious coffee grounds.
A good electric kettle with temperature control is your best friend here. I absolutely love using one with a digital display and preset temperatures – it takes the guesswork out of the process and lets you focus on perfecting your pour technique. If you’re working with a basic stovetop kettle, here’s a handy tip: bring your water to a boil, then let it rest for about 30 seconds before pouring. This will cool it to the ideal temperature range.
For those days when you want to be extra precise (we all have them!), a simple brewing thermometer can be incredibly helpful. Just clip it to your kettle or carafe, and you’ll know exactly when your water hits that perfect temperature. Remember, consistency is key – using the same temperature every time helps you dial in your perfect cup and makes it easier to replicate those delicious results day after day.
Caring for Your Pour Over Equipment
Just like your favorite coffee mug, your pour over equipment deserves some TLC to keep brewing that perfect cup day after day. I’ve learned through experience that a quick rinse after each use isn’t quite enough – though it’s definitely better than nothing! To keep your gear in top shape, wash your dripper, carafe, and filters holder with mild dish soap and warm water after each brewing session. Those tiny coffee oils can build up quickly and affect the taste of your next brew.
For deeper cleaning (which I do weekly), soak your equipment in a solution of water and coffee equipment cleaner or a mixture of white vinegar and water. This helps remove any stubborn coffee residue and mineral buildup. Remember to rinse thoroughly afterward – nobody wants their morning coffee tasting like vinegar!
Don’t forget to store your coffee properly and keep your equipment in a dry place between uses. I like to place my dripper on a dedicated stand, which not only looks lovely on my counter but also ensures proper air circulation. If you use a metal filter, check it regularly for any signs of damage or wear, especially around the mesh areas.
Embarking on your pour over coffee journey is an exciting step toward creating those perfect, mindful moments in your daily routine. Whether you’re starting with just the basics – a dripper and filters – or investing in a complete setup with a gooseneck kettle and scale, remember that every coffee lover’s journey is unique. The beauty of pour over brewing lies not just in the equipment, but in the ritual itself and the joy of crafting your perfect cup. As you experiment with different tools and techniques, you’ll discover what works best for you. Don’t feel pressured to buy everything at once; start small and build your collection as your passion grows. Soon enough, you’ll be savoring cafe-quality coffee in the comfort of your home, perhaps even sharing your newfound expertise with friends over a freshly brewed cup. Happy brewing!