The aroma of cinnamon-spiced apple pie wafting through the kitchen, the rhythmic sound of a rolling pin against flour-dusted countertops, and dog-eared recipe cards passed down through generations – these are the threads that weave our most cherished holiday memories. Traditional holiday recipes aren’t just instructions on a page; they’re treasured family recipes that carry stories, love, and heritage in every carefully measured ingredient.
Whether you’re recreating your grandmother’s legendary stuffing or starting fresh traditions with your own signature dish, these time-honored recipes serve as bridges between past and present, connecting us to celebrations of years gone by while creating new memories for future generations. They transform ordinary ingredients into extraordinary moments, filling our homes with both delectable aromas and the warmth of family togetherness.
In kitchens across the world, these recipes become more than just meals – they’re the cornerstone of our celebrations, the dishes we anticipate all year long, and the tastes that instantly transport us back to precious moments shared with loved ones. Let’s explore how these cherished recipes can bring that same magic to your holiday table, creating traditions that will be savored for generations to come.
The Story Behind Our Cherished Sugar Cookie Recipe
From Great-Grandmother’s Kitchen to Mine
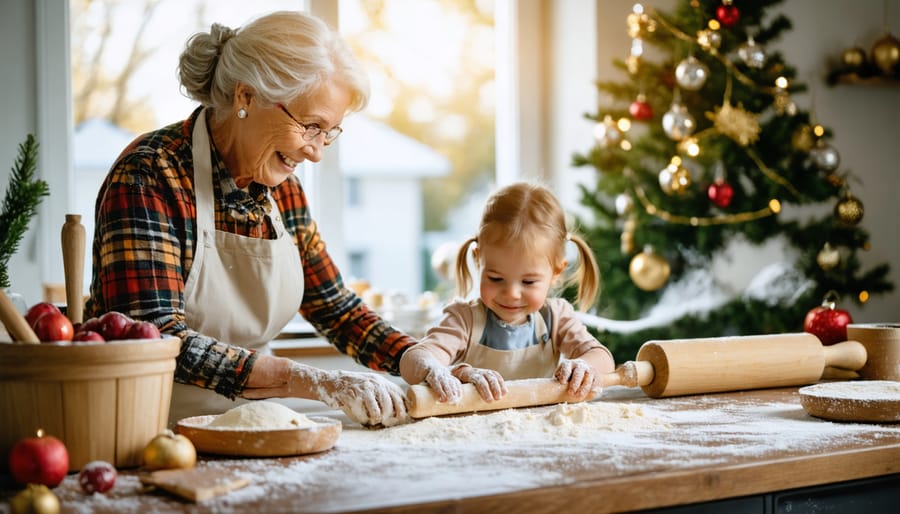
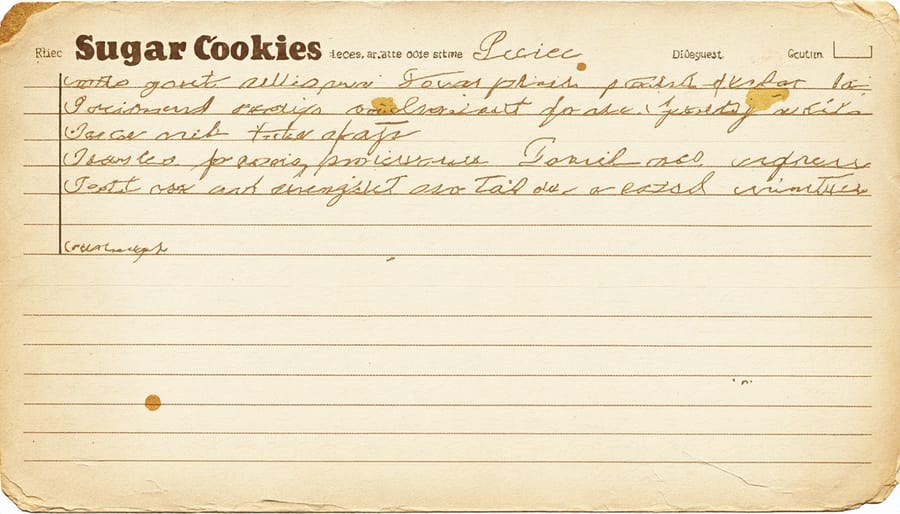
Every time I roll out the dough for these holiday cookies, I can almost hear my great-grandmother’s gentle instructions guiding my hands. What started as her carefully handwritten recipe card, complete with butter stains and flour fingerprints, has evolved into my own digital version of her legacy. I’ve learned that preserving family recipes means more than just copying ingredients – it’s about adapting while keeping the heart of the tradition alive.
Where she used lard, I now use butter. Her hand-crushed spices have been replaced with pre-ground ones (though I still feel a twinge of guilt about this). Yet, the essence of her recipe remains unchanged. The way the dough feels when it’s just right, the familiar aroma that fills the kitchen, and most importantly, the way these cookies bring our family together – it’s all exactly as I remember from childhood.
Sometimes my kids help me bake, their little hands covered in flour just like mine once were in my grandmother’s kitchen. They might not realize it yet, but they’re becoming part of a story that’s been unfolding for generations, adding their own chapter to our family’s culinary heritage.
The Secret to Perfect Holiday Sugar Cookies
Essential Ingredients
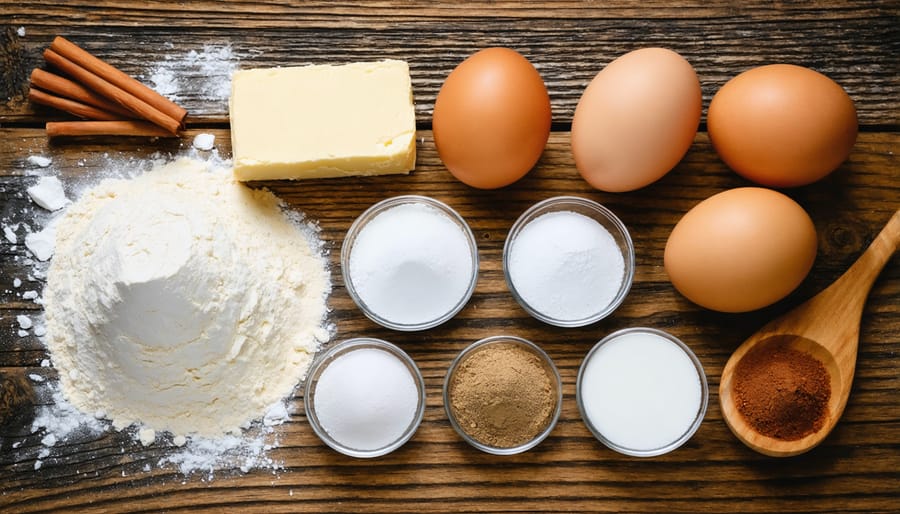
The heart of any traditional holiday recipe lies in selecting the right ingredients, and I’ve learned through years of family gatherings that quality really does make a difference. Here’s what you’ll need:
– 3 cups all-purpose flour (unbleached works best for that perfect golden color)
– 2 sticks unsalted butter, room temperature (European-style butter adds extra richness)
– 1 cup granulated sugar (traditional white sugar lets other flavors shine)
– 2 large eggs from free-range hens
– 1 tablespoon pure vanilla extract (never the artificial kind!)
– 1 teaspoon ground cinnamon (Ceylon cinnamon offers a more delicate flavor)
– ½ teaspoon freshly grated nutmeg
– ¼ teaspoon sea salt
The magic happens when you choose ingredients with intention. Farm-fresh eggs create a richer texture, while real vanilla extract provides depth that artificial alternatives just can’t match. I’ve found that letting the butter soften naturally rather than microwaving it makes a noticeable difference in the final texture. Trust me, your grandmother knew what she was doing when she insisted on certain brands or types of ingredients – these small details are what transform a good recipe into a cherished holiday tradition.
Step-by-Step Baking Instructions
Let’s dive into the baking magic! First, preheat your oven to 350°F (175°C) – I always give my oven an extra 10 minutes to ensure it’s properly heated. While it’s warming up, line your baking sheets with parchment paper – trust me, this little step saves so much cleanup time later!
In a large bowl, cream together 1 cup of softened butter and 1½ cups of sugar until light and fluffy (about 3-4 minutes). Here’s a pro tip I learned from my grandmother: make sure your butter is truly room temperature, not just slightly softened. This makes all the difference in achieving that perfect texture!
Add two eggs, one at a time, beating well after each addition. Then mix in 1 teaspoon of vanilla extract. In a separate bowl, whisk together 3 cups of all-purpose flour, 1 teaspoon of baking powder, and ½ teaspoon of salt.
Gradually add the dry ingredients to your wet mixture, mixing until just combined. Don’t overmix – this is key for tender cookies! The dough should be slightly firm but workable. If it feels too sticky, pop it in the refrigerator for 30 minutes.
Roll out the dough on a lightly floured surface to about ¼-inch thickness and cut into your desired shapes. Place cookies about 1 inch apart on prepared baking sheets and bake for 10-12 minutes, or until edges are lightly golden.
Cool on the baking sheet for 5 minutes before transferring to a wire rack. While they cool completely, get your decorating station ready – this is where the real fun begins!
Decorating Your Cookies
Let’s turn those freshly baked cookies into festive masterpieces! I love gathering my family around the kitchen table for our annual decorating tradition – there’s something magical about transforming simple sugar cookies into sparkling holiday art.
Start with a smooth royal icing as your base, letting it set completely before adding details. For a classic look, outline your cookies in white and flood with holiday colors like deep red, forest green, or winter blue. My kids’ favorite technique is sprinkling sanding sugar over wet icing to create a gorgeous shimmer effect.
Get creative with your decorating tools! Piping bags are essential, but don’t overlook everyday items like toothpicks for creating delicate swirls or marbled effects. Small candies, silver dragées, and edible glitter can add wonderful texture and sparkle to your designs.
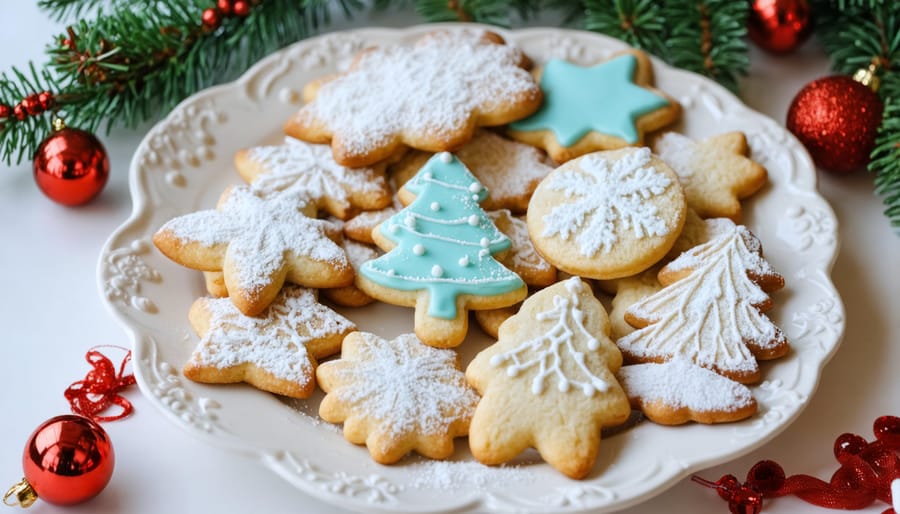
For foolproof holiday designs, try simple patterns like stripes on candy canes, dots on ornaments, or a dusting of powdered sugar on gingerbread men to mimic snow. Remember, perfection isn’t the goal – each uniquely decorated cookie adds character to your holiday cookie platter and creates lasting memories with loved ones.
Making New Memories
Creating your own holiday baking traditions doesn’t require a culinary degree or decades of family history – it just takes a dash of intention and a sprinkle of creativity. Start by choosing one or two recipes that resonate with your family, whether it’s a classic sugar cookie recipe or something uniquely yours. The key is consistency; make these treats your signature holiday contribution year after year.
Get the whole family involved by assigning age-appropriate tasks. Little ones can help with measuring ingredients or decorating cookies, while older children might enjoy learning the more technical aspects of baking. Don’t worry about perfection – those slightly wonky cookies often become the most cherished memories!
Consider designating a specific day for holiday baking. Maybe it’s the first Sunday of December or the weekend before Christmas. Mark it on your calendar and make it special with holiday music, festive aprons, and warm beverages. Take photos of your baking sessions and keep a recipe journal noting any modifications or funny mishaps that occurred.
Share your creations with neighbors, teachers, or local community groups. This extends your tradition beyond your immediate family and teaches children the joy of giving. You might even start a holiday cookie exchange with friends, adding new recipes to your repertoire while maintaining your signature treats.
Remember, traditions grow stronger with time, so be patient and embrace the process. Years from now, your family will treasure these moments spent together in the kitchen, creating both delicious treats and lasting memories.
Storing and Gifting Your Sugar Cookies
There’s something magical about gifting homemade cookies during the holidays, and with the right storage and presentation, your sugar cookies can stay fresh and beautiful for days. Let’s talk about keeping these sweet treasures at their best!
For optimal freshness, store your decorated sugar cookies in an airtight container at room temperature. Place a piece of wax paper between layers to protect your artistic icing work. When stored properly, they’ll stay delicious for up to two weeks – though in my house, they rarely last that long!
If you’re planning ahead, unfrosted cookies can be frozen for up to three months. Just make sure they’re completely cool before freezing, and store them with parchment paper between layers. When you’re ready to use them, thaw at room temperature before decorating.
For those looking for creative cookie gifting ideas, consider arranging them in festive tins lined with holiday-themed tissue paper. Mason jars tied with ribbon make charming containers, or try crafting a cookie bouquet using food-safe sticks and cellophane wrap. I love including a handwritten note sharing the family history of the recipe – it adds such a personal touch!
Remember to package soft and crispy cookies separately to maintain their distinct textures. And if you’re shipping cookies to loved ones, cushion them well with bubble wrap or crumpled paper to ensure they arrive intact and ready to spread holiday joy.
As we wrap up this culinary journey through time, remember that traditional holiday recipes are more than just ingredients and instructions – they’re the threads that weave our family stories together. Every time we recreate grandmother’s signature dish or teach our children the precise way to fold those special cookies, we’re not just cooking; we’re keeping precious memories alive and creating new ones.
Don’t feel pressured if you haven’t inherited generations-old recipes. Today is the perfect time to start your own traditions. Maybe it’s adapting a classic recipe to suit your family’s tastes or creating an entirely new dish that speaks to your heritage and heart. The beauty of traditions is that they all had to start somewhere.
Take a moment this holiday season to document your family recipes, complete with those little tricks and tips that make them special. Share them with loved ones, teach them to the younger generation, and most importantly, embrace the joyful moments spent together in the kitchen. After all, the most cherished holiday traditions often begin with a simple recipe and a lot of love.
Remember, whether you’re preserving age-old customs or crafting new ones, you’re contributing to a legacy that will warm hearts and homes for generations to come.