

Transform your living space into an intelligent sanctuary without the hefty professional fees. Start by simplifying your home technology through a structured learning approach that puts you in control.
Begin with foundational smart home skills by installing a hub device like Amazon Alexa or Google Home, connecting it to your WiFi, and mastering basic voice commands. Progress to intermediate tasks such as setting up smart lights, thermostats, and security cameras using manufacturer apps and standard protocols. Create custom automation routines that sync multiple devices for seamless morning wake-ups, evening wind-downs, and everything in between.
Smart home installation isn’t just about following instructions – it’s about creating a personalized ecosystem that enhances your daily routines. Whether you’re a busy mom managing a hectic household or a young professional seeking efficiency, mastering these skills empowers you to design a home that anticipates your needs and responds to your lifestyle.
This comprehensive training journey transforms intimidating technical concepts into manageable steps, helping you build confidence while saving thousands on professional installation costs. Let’s demystify smart home technology together and create the connected living space you’ve always imagined.
Smart Home Basics: Your Foundation for Success
Understanding Your Home’s Infrastructure
Before diving into the exciting world of smart home devices, let’s take a moment to understand what your home needs to support these modern conveniences. Think of it as checking your foundation before building your dream house!
First up is Wi-Fi – the backbone of any smart home setup. You’ll want a strong, reliable internet connection reaching every corner of your home. I learned this the hard way when my smart doorbell kept disconnecting because it was too far from the router! Consider investing in a mesh Wi-Fi system if you have dead zones in your home.
When it comes to electrical needs, most smart devices are surprisingly energy-efficient. However, you’ll want to check that you have enough available outlets and that they’re properly grounded. Some devices, like smart thermostats and doorbell cameras, might need specific wiring configurations.
Before purchasing any devices, take a quick compatibility inventory. Are you team Alexa, Google Assistant, or Apple HomeKit? Making sure your devices can “talk” to each other will save you countless headaches later. I always recommend checking the product packaging or manufacturer’s website for compatibility information.
Don’t forget to consider your home’s construction materials – thick concrete walls or metal structures can affect wireless signals. A quick walk-through of your space, noting potential signal blockers, will help you plan your setup more effectively.
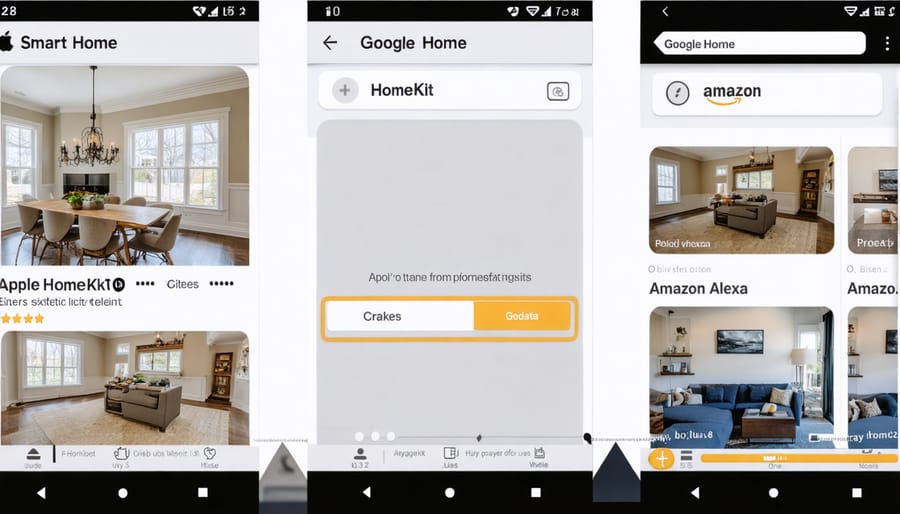
Choosing Your Smart Home Ecosystem
Choosing your smart home ecosystem is like picking a new best friend – you want someone reliable, understanding, and easy to get along with! Let me share my journey of exploring these platforms to help you make the right choice for your lifestyle.
Apple HomeKit is perfect if you’re already part of the Apple family. It offers exceptional privacy features and seamless integration with your iPhone and iPad. Think of it as that super-organized friend who keeps everything running smoothly and securely.
Google Home, on the other hand, shines with its intuitive voice commands and impressive AI capabilities. I love how it learns your routines and makes helpful suggestions. Plus, it works wonderfully with eco-friendly smart home features, helping you monitor and reduce energy consumption.
Amazon Alexa might be your perfect match if you’re looking for the widest range of compatible devices. It’s like having a helpful assistant who’s friends with everyone – from smart lights to kitchen appliances. The platform’s user-friendly interface makes it particularly appealing for smart home beginners.
Remember, there’s no one-size-fits-all solution. Consider which devices you already own, your comfort level with technology, and your daily routines when making your choice.
Step-by-Step Installation Success
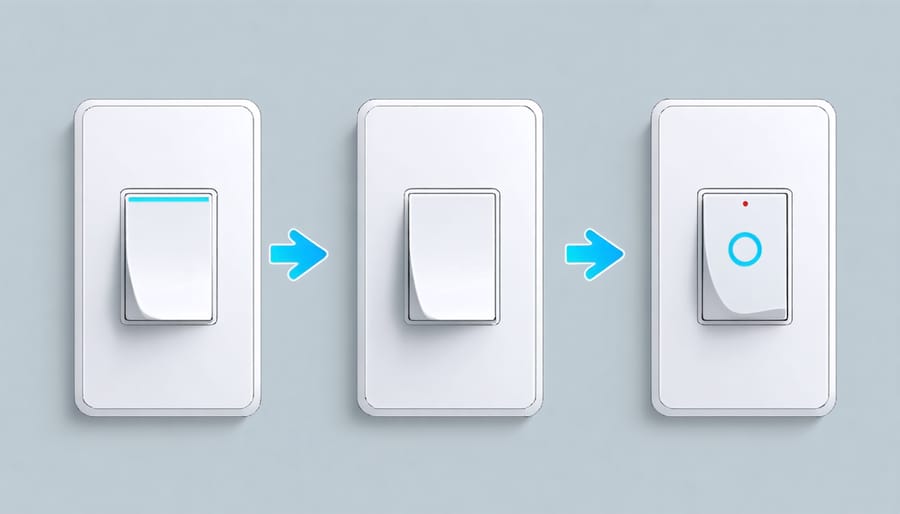
Smart Lighting: Your First Project
Let’s start your smart home journey with one of my favorite budget-friendly home upgrades: smart lighting! I remember how transformative it felt when I first installed my smart bulbs – suddenly, my home felt like it had stepped into the future.
Start by choosing your smart bulbs or switches. For beginners, I recommend smart bulbs as they’re literally as easy as changing a light bulb. First, ensure your Wi-Fi is working properly and download your chosen brand’s app. Popular options like Philips Hue or LIFX have user-friendly interfaces perfect for newcomers.
To install your smart bulb, simply:
1. Turn off the power to the light fixture
2. Remove the old bulb
3. Screw in your new smart bulb
4. Turn the power back on
5. Open your app and follow the pairing instructions
For smart switches, while they require a bit more confidence with basic wiring, they’re still totally manageable. Just remember to:
1. Cut power at the circuit breaker
2. Remove the old switch plate
3. Take a photo of the existing wiring
4. Connect the new switch following the included instructions
5. Secure everything back in place
Pro tip: Start with just one room, like your bedroom or living room. This lets you experiment with schedules and settings without feeling overwhelmed. Once you’ve mastered one space, you’ll be amazed at how quickly you’ll want to expand to other areas of your home!
Security Made Simple
Let me tell you a secret – installing smart security devices isn’t as complicated as it might seem! When I first started exploring smart home security, I was nervous about getting it wrong, but with the right approach, it’s totally manageable.
Start with your smart doorbell – it’s the perfect entry point into home security. Most models come with detailed mounting brackets and clear instructions. The key is to ensure you have a strong WiFi signal at your front door and the right power supply (whether that’s existing doorbell wiring or a rechargeable battery).
For smart cameras, location is everything. I learned this the hard way after initially placing mine too low! Aim to position them about 7-9 feet high, angled slightly downward, and away from direct sunlight. Remember to keep indoor cameras away from windows to prevent glare and false motion alerts.
Smart locks might seem intimidating, but modern versions are surprisingly straightforward to install. They typically fit right over your existing deadbolt mounting plate. Pro tip: take photos of your current lock setup before removing anything – it’s a lifesaver if you need to reference the original configuration!
Always test your devices thoroughly before considering the installation complete. Set up motion zones, adjust sensitivity settings, and create custom alerts. Most importantly, make sure all family members know how to operate these new security features – after all, the smartest security system is one that everyone can use confidently!
Climate Control Comfort
Remember when you’d have to get up in the middle of the night to adjust the thermostat? Those days are long gone! Installing a smart thermostat is one of the most rewarding smart home upgrades you can make, and I’m here to walk you through it step by step.
First, safety first! Turn off your HVAC system’s power at the circuit breaker. Take a photo of your existing thermostat’s wiring before removing it – trust me, this simple step has saved me more than once! Gently remove your old thermostat, being careful not to damage the wires.
Most smart thermostats come with a mounting plate. Install this first, threading your existing wires through the center hole. Connect the wires to their corresponding terminals – they’re usually color-coded to make things easier. If you see any unconnected wires, don’t worry! Not all systems use every wire.
Now for the fun part: attach your new smart thermostat to the mounting plate. It should click into place satisfyingly. Turn the power back on, and your thermostat should light up. Follow the on-screen setup instructions to connect to your WiFi network.
The magic happens in the app setup. Download your thermostat’s companion app and create an account. You can set schedules, create comfort zones, and even enable features like geofencing, which adjusts your home’s temperature based on your location.
Remember, the first week might feel a bit different as your thermostat learns your preferences. Give it time – soon you’ll wonder how you ever lived without it!
Troubleshooting Like a Pro
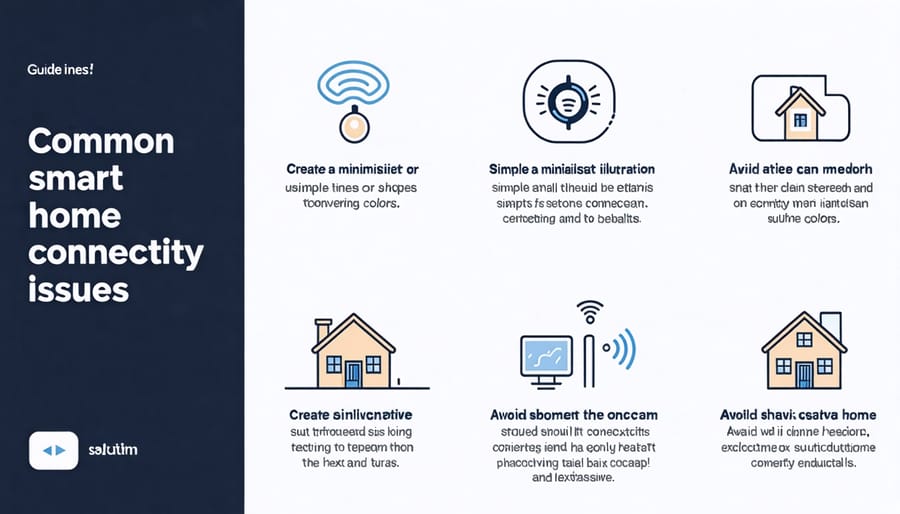
Connection Issues Solved
Let’s talk about those frustrating connectivity hiccups that we’ve all experienced with smart devices – trust me, you’re not alone! The good news is that most connection issues have simple solutions that you can handle yourself.
First, when your device won’t connect, start with the basics: ensure your Wi-Fi password is entered correctly (I once spent an hour troubleshooting only to realize I’d mixed up a zero with the letter O!). If that’s not it, try the trusty “restart trinity” – reboot your device, restart your router, and refresh your phone’s Wi-Fi connection.
For devices that keep dropping their connection, check their distance from your router. I learned this the hard way when my smart doorbell kept disconnecting until I installed a Wi-Fi extender. Speaking of which, if you have a larger home, consider setting up mesh Wi-Fi nodes to ensure consistent coverage throughout your space.
Another common issue is device interference. Keep your smart devices away from large metal objects, microwaves, and baby monitors. Sometimes, simply moving a device a few feet can make all the difference!
If you’re still having troubles, try resetting your device to factory settings. While it means starting fresh with the setup, it often resolves stubborn connectivity issues. Remember to save your device settings beforehand, so you can quickly reconfigure everything.
Sometimes the simplest fix is checking for firmware updates – both for your router and smart devices. These updates often include connectivity improvements and bug fixes that can resolve ongoing issues.
Device Integration Tips
Getting your smart devices to play nicely together is like introducing new friends at a party – sometimes they need a little help to connect! I learned this the hard way when my smart lights and voice assistant spent a whole weekend refusing to communicate. Now, I’m sharing my tried-and-true tips to help you avoid similar headaches.
First, always check device compatibility before purchasing. Look for products that work with your existing hub or ecosystem. If you’re just starting out, popular platforms like Amazon Alexa, Google Home, or Apple HomeKit provide excellent foundations for building your smart home network.
Create device groups based on rooms or functions. For example, group your bedroom lights, smart blinds, and smart speaker together. This makes it easier to create automated routines, like a “Good Morning” sequence that gradually brightens lights and raises blinds.
Here’s a game-changing tip: keep your Wi-Fi router centrally located and maintain a strong signal throughout your home. Many smart device connection issues stem from weak Wi-Fi coverage. Consider using mesh Wi-Fi systems if you have a larger home or thick walls.
When adding new devices, connect them one at a time. This helps you identify any issues immediately rather than trying to troubleshoot multiple devices at once. Also, keep your devices’ firmware updated – manufacturers often release updates that improve compatibility and performance.
Remember, patience is key when integrating devices. If something isn’t working, try resetting both devices and reconnecting them. Sometimes, the simplest solution is the most effective!
Maintaining Your Smart Home
Regular Maintenance Schedule
Just like any household system, your smart home setup needs regular TLC to keep running smoothly. I’ve learned from experience that creating a simple maintenance routine can prevent most common issues before they start. Here’s my tried-and-true checklist that’ll help you maintain a clean smart home system:
Monthly Tasks:
• Check all device batteries and replace as needed
• Test all motion sensors and security cameras
• Clean device surfaces and sensors with appropriate materials
• Update all apps and device firmware
• Verify all automations are working correctly
Quarterly Tasks:
• Review and update all passwords
• Check Wi-Fi network performance
• Test backup power systems
• Inspect all cable connections
• Remove unused devices from your network
Annual Tasks:
• Complete security audit
• Update emergency contact information
• Review and adjust automation schedules
• Check warranty status on devices
• Document any new additions or changes to your setup
Remember to save these dates in your smart home calendar with reminders – it’s like giving your system a regular spa day! Keep a digital log of all maintenance activities to track patterns and prevent future issues.
Updating Your System
Just like your smartphone, your smart home devices need regular updates to stay secure and perform their best. Trust me, I learned this the hard way when my smart doorbell stopped working because I’d skipped too many updates! Now, I make it a habit to check for updates at least once a month, usually while enjoying my morning coffee.
Most smart home devices will notify you when updates are available through their companion apps. When you receive these notifications, don’t click “remind me later” – take a few minutes to install them right away. These updates often include important security patches that protect your home network from potential threats.
Pro tip: Set aside a specific time each month for system maintenance. I call it my “Smart Home Sunday,” where I check all my devices for available updates and ensure everything’s running smoothly. It’s also a good idea to enable automatic updates when possible, though some devices may require manual approval for major system changes.
Remember to keep your smart home hub’s firmware updated too, as it’s the brain of your entire system. If you’re using a smartphone to control your devices, make sure its operating system is also current to avoid compatibility issues.
As we wrap up our smart home journey together, I hope you’re feeling inspired and empowered to take those first steps toward creating your dream connected home. Remember, every smart home expert started exactly where you are now – with curiosity and determination to learn something new.
The beauty of smart home technology lies in its ability to adapt to your unique lifestyle. Whether you’re starting with a single smart speaker or diving into a whole-home automation system, the skills you’ve learned here will serve as your foundation for growth.
I started my own smart home journey with just one smart bulb, and I’ll never forget the excitement of controlling it from my phone for the first time. Now, my home responds to my daily routines seamlessly, and yours can too!
Take it one device at a time, reference the installation guides we’ve covered, and don’t be afraid to experiment. The smart home community is incredibly supportive, and there’s always someone willing to help when you need it.
As you begin this exciting adventure, remember that perfection isn’t the goal – creating a home that makes your life easier and more enjoyable is. Start small, celebrate your successes, and gradually expand your smart home ecosystem as your confidence grows.
Ready to transform your living space? Your smart home journey begins now, and I can’t wait to hear about all the amazing ways you’ll make your home work smarter for you!